Stow and District Civic Society
Battle of Stow 1
Battle of Stow - 21st March 1646
Famous final encounter of the first English Civil War ending in a terrifying bloodshed in Stow town square
This article, by Simon Marsh, is reproduced by kind permission of the 'Battlefield' magazine,
the official publication of the Battlefields Trust.

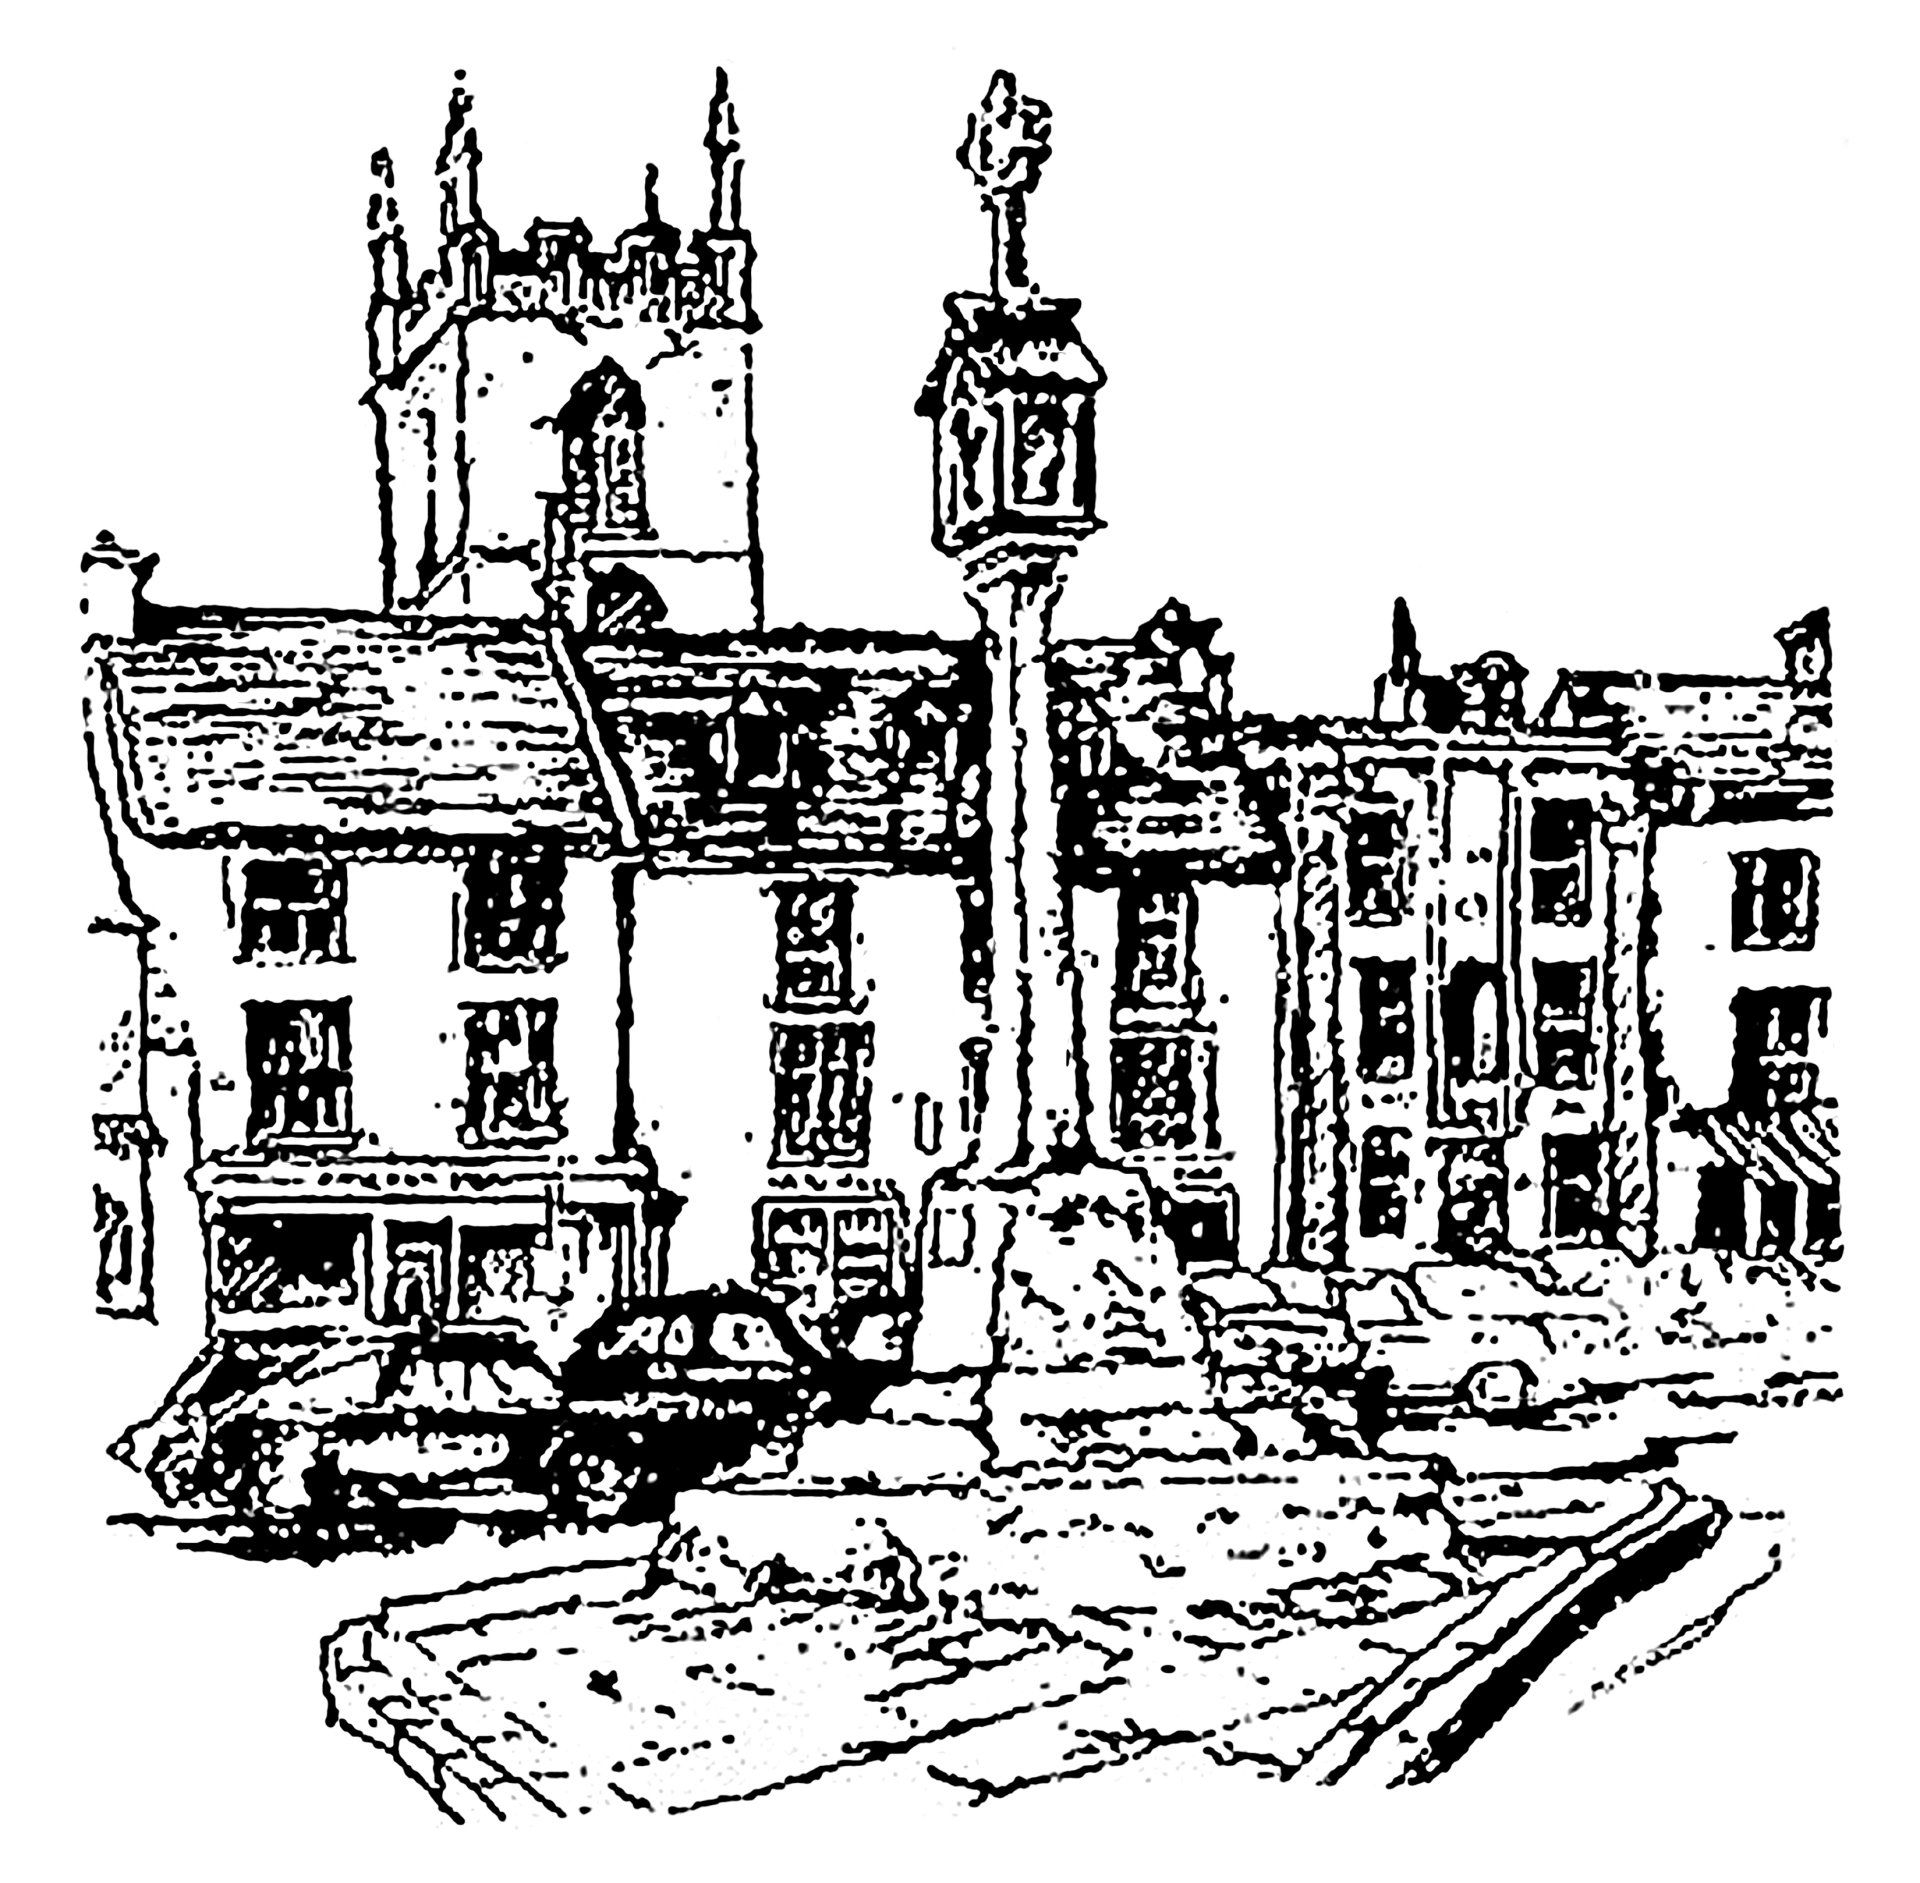
Royalist and parliamentarian armies passed through Stow several times during the first Civil War (1642-46) and a stand-off action was 'fought' to the east of Stow in the summer of 1643 as the earl of Essex's army marched to relieve Gloucester. King Charles I also stayed in the King’s Arms in May 1645, but the town is perhaps best known as being the final location of the last battle of the first Civil War where we can picture the defeated royalist commander, Sir Jacob Astley, sat on a drum by the Market Cross prophetically telling his capturers 'Gentlemen yee may now sit down and play, for you have done all your work, if you fall not out amongst yourselves’. But why was a battle fought at Stow and why was it the last of the first Civil War?
By February 1646 the royalist cause was all but lost. The Oxford field army had been destroyed at Naseby in June 1645 and a subsequent string of defeats in battle - Langport, Rowton Heath and Torrington - and the loss of several important cities - Bristol, Hereford and Chester - had left royalist prospects in a parlous state.
In late February 1646, in a desperate gamble King Charles I ordered his Worcester based General for Worcestershire, Herefordshire, Shropshire and Staffordshire, Sir Jacob Astley, to gather up whatever garrison troops he could and march to Chipping Norton via Stow-on-the-Wold where he would be met by the King with troops from Oxford. From there they would attempt to relieve the siege of Banbury or return to Worcester, presumably with the aim of re-recruiting the King's army in Wales and the Marches.
This was a challenging order. Astley had to cross the river Avon to reach Stow and Parliament's garrisons at Stratford and Evesham were in the way. Unknown to Astley, Parliament was also aware of the King's plans and had ordered the governors of Hereford - John Birch, Gloucester - Thomas Morgan, Evesham - Edward Rous, and Sir William Brereton, the most senior of the four and who was at that time besieging Lichfield, to combine their forces by 18 March to intercept Astley. Brereton also managed to put a spy into Astley's camp at Worcester, so when the royalist began their advance on 17 March he was forewarned.
Astley feinted first toward Lichfield, possibly trying to fool his enemies and cause Brereton to raise his siege. He then turned south reaching Alcester on 19 March. Birch, Morgan and Rous had joined forces, probably at Stratford-on-Avon, by 15 March and on Astley's departure from Worcester Brereton set out with 1,000 cavalry and dragoons to join them. Acting as the senior parliamentarian commander until Brereton arrived, Morgan decided to cross the Avon and base himself at Chipping Campden, seemingly because he was concerned about trying to cover all the crossing points on the river and risk his force being defeated in detail.
Astley managed to get across the Avon at Bidford using a bridge of boats on the morning of 20 March. However, with pickets stationed on the hills above Chipping Campden, the parliamentarians could see Astley's army marching down the old Roman road of Buckle Street and moved to intercept him. Brereton had, in the meantime, advanced toward Stratford when he received intelligence that Astley had turned and was heading back toward Birmingham, possibly with the intention of raising the siege at Lichfield. With this new information Brereton also turned back.
Meanwhile by late afternoon in the 'Campden Hills' Morgan's and Astley's forces were engaged. Morgan had deployed 500 cavalry and some infantry to slow Astley's advance as he knew Brereton was on the way. Astley's force numbered between 2,000-3,000 men; perhaps 900 cavalry and 1,500 infantry. Morgan appears to have decided not to have used all his estimated 2,700 men against Astley as he was outnumbered in cavalry and wanted to avoid risking defeat by a desperate and numerically similar force.
By 9pm Astley had reached the top of the hills and Morgan decided to break contact, await Brereton and regroup his forces. With no sign of Brereton at 11pm, Morgan recommenced his march, not wishing to lose contact with the royalists who were moving more slowly than him due to their baggage train. Brereton had, in the meantime, realised his mistake and advanced again to Stratford where he learnt of the action at Chipping Campden. He reached Campden by midnight and managed to rendezvous with Morgan's force between 1-2am on 21 March.
Following the rendezvous the combined parliamentarian army advanced about a mile and then encountered the royalists. Morgan ordered 400 cavalry and 200 dragoons to put Astley, who was still in line of march, to a stand and both armies formed up in the darkness of the early hours. Each would have deployed with infantry in the centre and cavalry on the flanks. Brereton placed his dragoons probably as commanded musketeers between his cavalry troops on the parliamentarian right. Morgan commanded the parliamentarian centre with around 2,000 infantry and Birch the 700 or so cavalry on the left. The royalist right perhaps with half the cavalry was commanded by Sir Charles Lucas. Astley was in the centre with the 1,500 infantry and, probably, Sir William Vaughan on the left wing with the remaining horse. The royalist right appears to have been strengthened with commanded musketeers and it seems likely this also occurred on the left given the strength of the opposing force on that side of the battlefield.
Having chosen their field words - 'God our Guide' for the parliamentarians and 'Patrick and George' - perhaps reflecting the presence of some Irish veterans -for the royalists, the armies waited for first light. Around half an hour before break of day, perhaps about 4:45am, the parliamentarians attacked. On the royalist right Birch's attack was thrown back with his own and 32 other horses shot. In the centre the infantry under Morgan made little headway against the royalist veterans and the fighting was in the balance there for some time. On the royalist left the overwhelming numbers in Brereton's command eventually prevailed and Vaughan's troopers began to flee, allowing the parliamentarians to turn in on Astley's infantry who also routed. The fighting had lasted about one hour, but the royalists were now running back to Stow, pursued by Brereton's troopers.
One account suggests further fighting took place in the town and local tradition has it that Digbeth Street ran red with royalist blood. But the royalists were defeated and soon gave up the fight. Around 1,600-1,700 common soldiers and almost 60 officers were captured along with 12 wagons with ammunition . Astley and Lucas were taken and local folklore suggests that the prisoners were held in St Edward's church overnight before being transferred to Gloucester where most were released after promising not to take-up arms against parliament again. Lucas also gave his parole in this way and was executed for breaking it at Colchester in 1648 after being captured there when it surrendered following a ten week siege.
There remains, however, a mystery about precisely where the battle of Stow was fought. The traditional site places the battle on the ridge at Donnington village north of Stow and this follows a suggestion from Atkin's 1712 history of Gloucestershire that the battle was fought at Donnington. Proponents of the site argue that the strong defensive position offered to the royalists by the location and the fact that the Salt Way - an ancient route from Chipping Campden toward Stow via Donnington - offered Astley the best route, making it the most likely location. The alternative site is a ridge to the south between Donnington and Stow. This is preferred by those who judge that Astley was more likely to have fought his way up Broadway hill and used the modern Stow to Evesham road, which can be interpreted as being in existence at the time based on Ogilvy's 1675 map, thus avoiding the Salt Way which passed close to Campden. By using this route and being caught in line of march, Astley, they argue, would more likely have used the southern ridge to deploy as the northern ridge was too far from the road and was, in any case, too precipitous for the parliamentarians to have made an attack. Space to deploy and the shorter distance to the town, where fighting is reported to have continued after the main battle was fought, also favour the southern ridge. Separately, Atkin's reference could be to the fact that Donnington was the nearest place of habitation to where the battle was fought at either the traditional or alternative site.
The only way to settle the question would be to conduct an archaeological survey and the Trust has been fortunate to receive a small grant from the Arms and Armour Heritage Trust which will cover around half a dozen days of surveying under an experienced archaeologist to try and find evidence of the main battle site. It is hoped that this work can start over this coming winter.
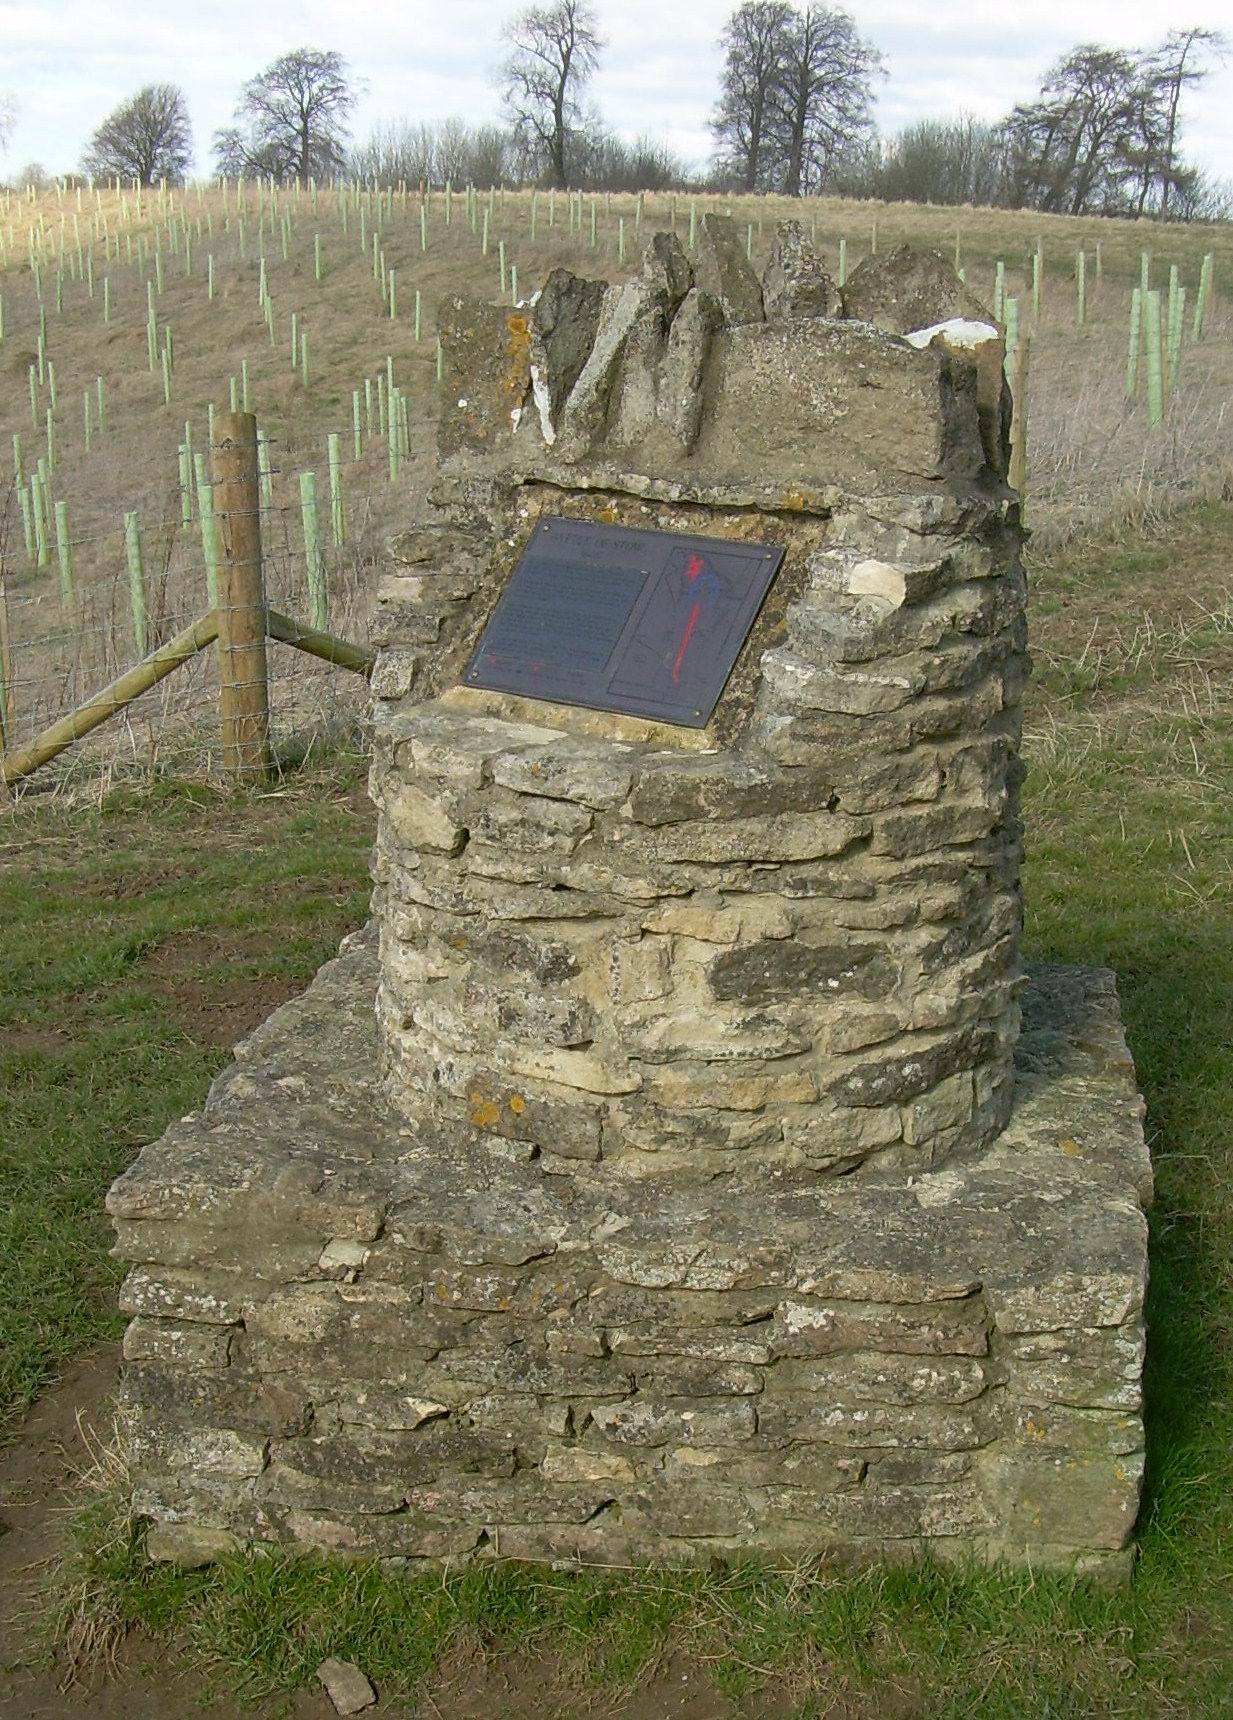
In the meantime visitors to Stow can visit the traditional and alternative sites for the battlefield by parking in the free public car park adjacent to the Tesco store (GL54 1BX) and walking a short way up the Fosseway before turning on to the public footpath on the left which leads to Donnington. At Donnington a footpath on the left of The Row at grid reference SP 19235 28226 leads up on to Donnington Ridge where a small memorial to the battle was erected for the Millennium. In Stow itself the grave of Captain Hastings Keyte, a royalist killed in the battle, can be seen in St Edward's church. The Market Cross has a plaque commemorating Astley's surrender which was installed recently by the Stow Civic Society and St Edward's Hall contains the Christie Crawfurd collection of over 60 Civil War portraits which can be viewed on the first Thursday of the month from April to October between 10.00 am and 2.30 pm with guides on hand to provide explanations.
On the ground floor the Library Foyer contains a cabinet displaying some of the weapons and armour from the Christie Crawfurd collection. These can be viewed during Library opening hours 6 days a week.